

Guys my hats off to you guys . A guy doesn't realize how much time and effort goes into what would seem to be a basic project .
I am trying to build some storage shelves that are mounted high up on the walls . I built these but to get things off the floor and work bench .
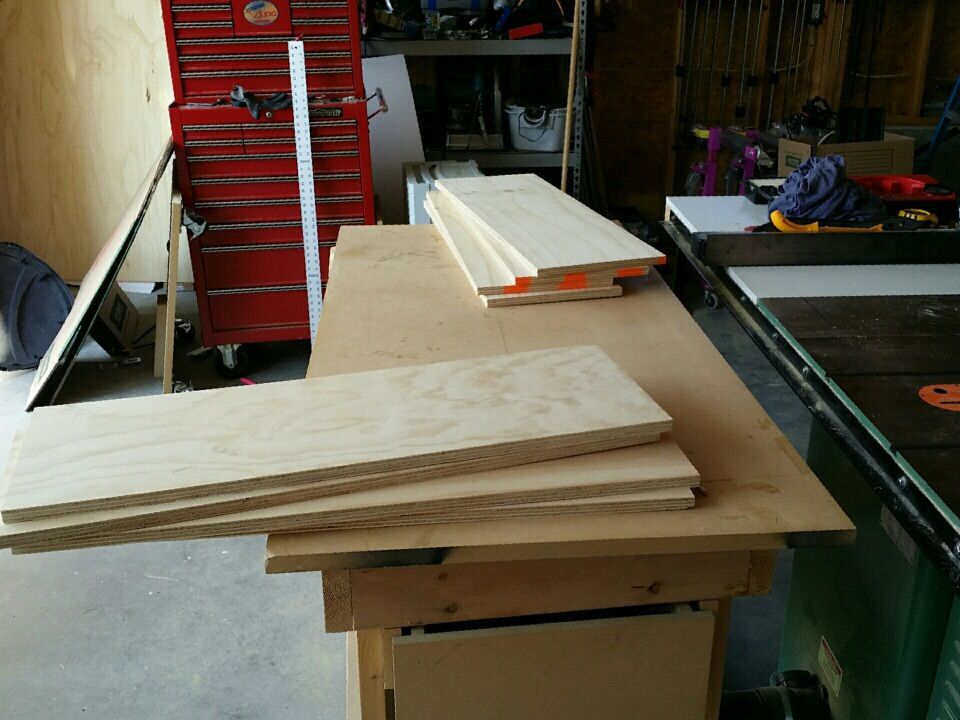
I was trying to do the math and it dawned on me that if I cut a bunch of 12" strips from a 4/8 sheet of plywood that I would end up with a bunch of waste as the saw blade takes up some material l so I made it 11.75" deep
Here I cut the lengths out after I did the cross cut . I have enough here for two
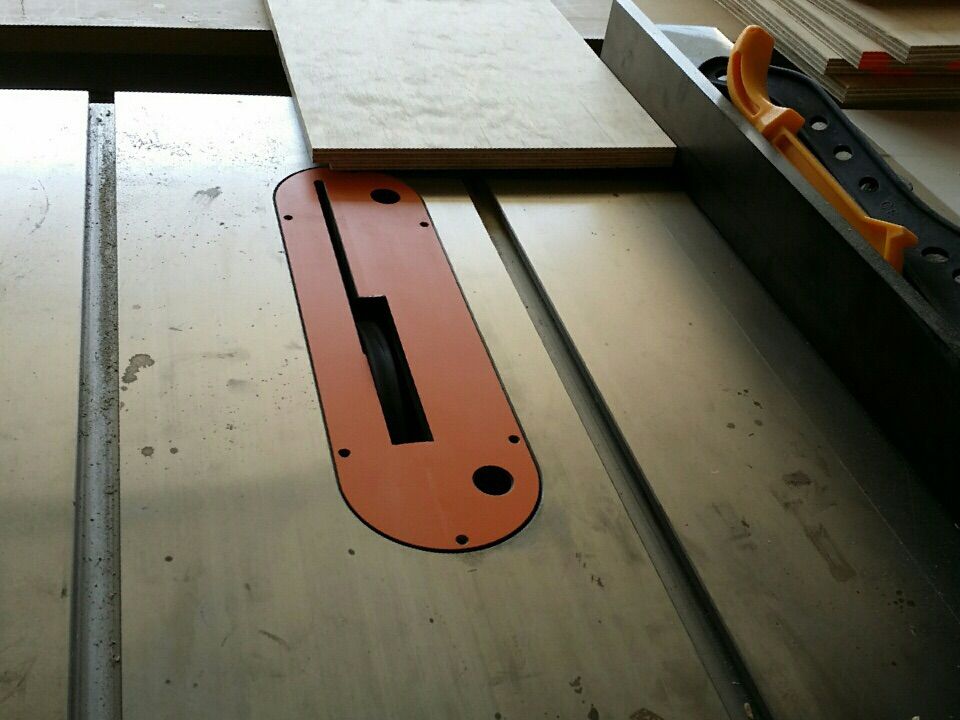
Not a great pic but here I'm dadoing a 1/2" in order for the back to be counter sunk in . Of course the plywood is warped so I had to run every piece threw three times . Kinda gave me the creeps pushing the wood down into the blade with my hand in order to make sure it all the material was being removed . A push stick didn't work , wish I had that pick block I was going to order .
I was going to rabbit the other joints to but forgot and it was to late as I should have done it after cross cutting .
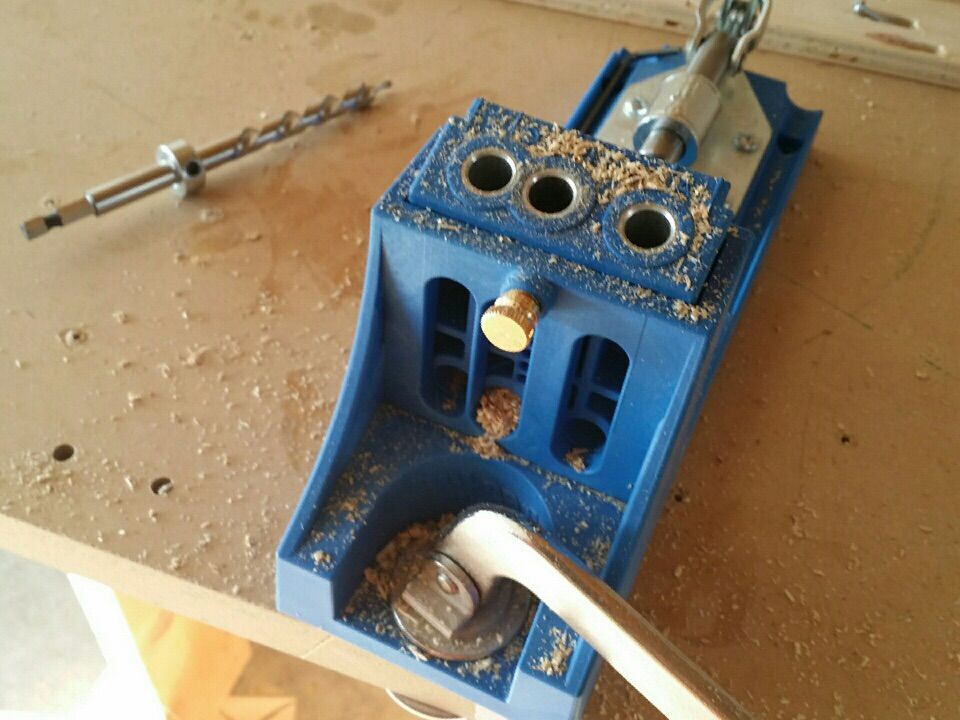
So I bought two Kreg shelf pin jigs . I was going to go with standards but didn't like the quality of the ones in town .
I was a little choked as I drilled the first hole and then forgot to insert the pin on the third board , so it moved and was out close to an 1/8" so I used that board for the bottom where it's hidden.
I used that piece of 2/4 as a spacer as I didn't need holes at the beginning
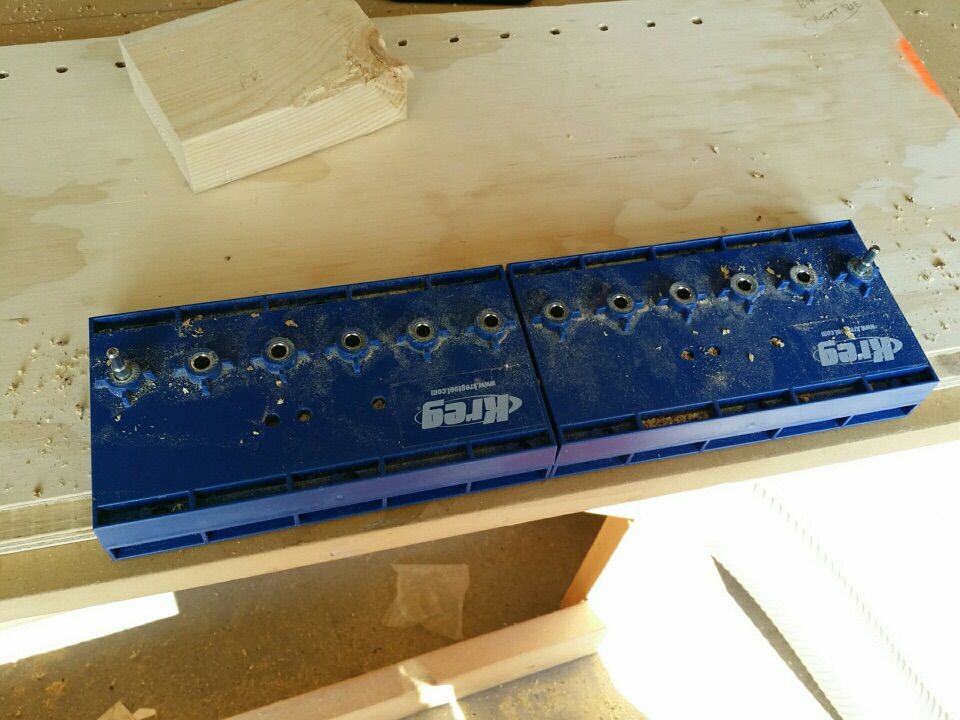
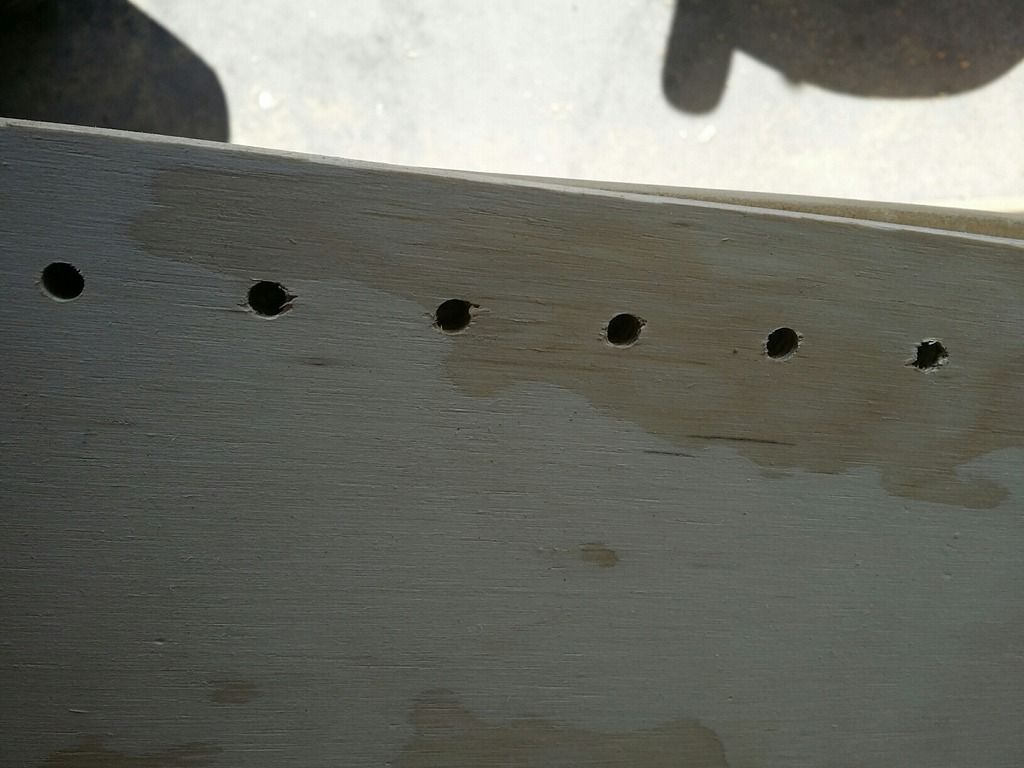
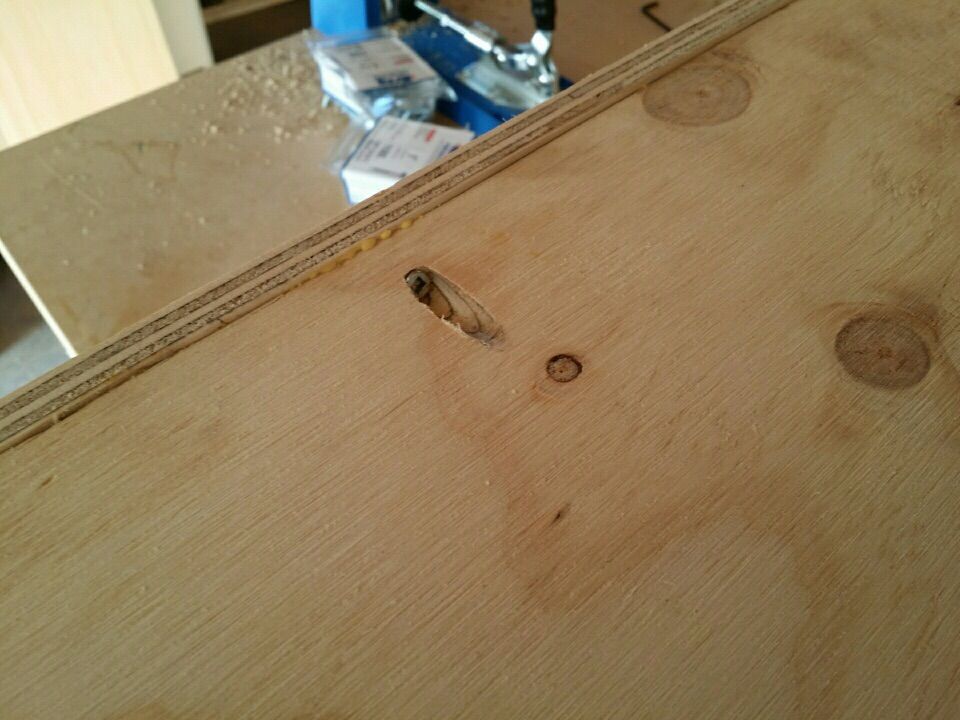
I found out I was drilling on to low a speed and going in to fast so some holes had splinters . I have it down pat now
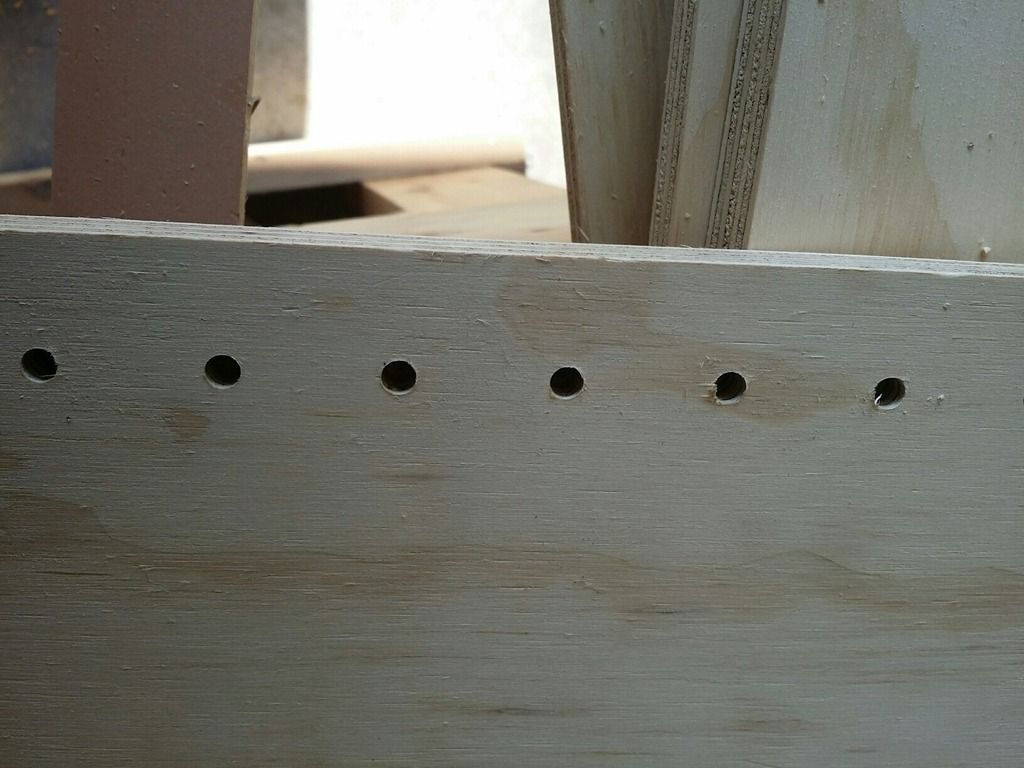
These were the first attempt on the pic below . You can see there not as clean
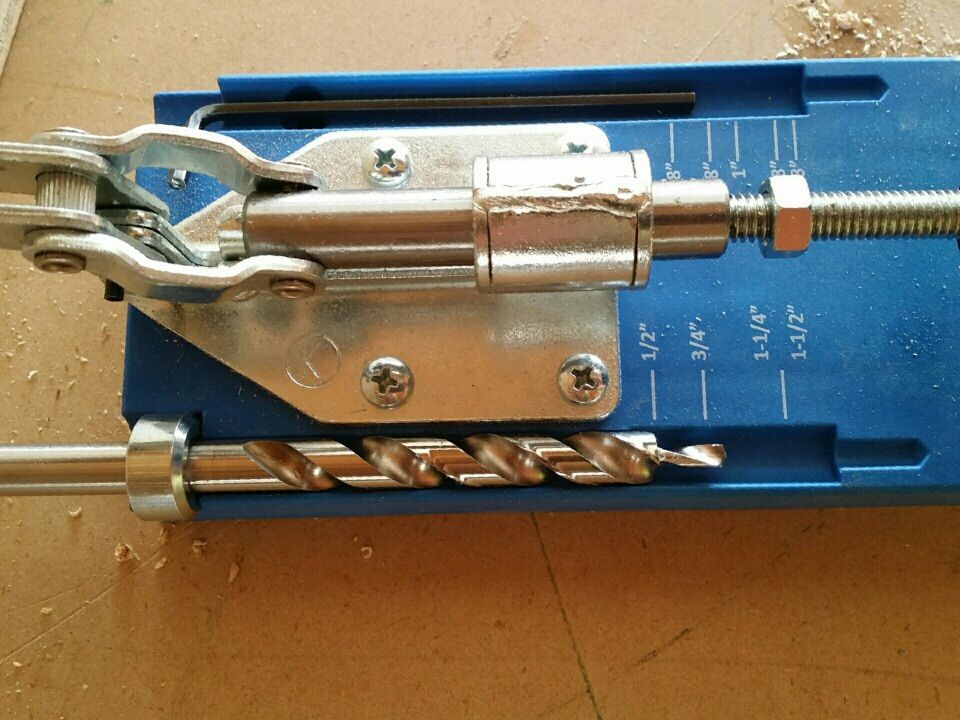
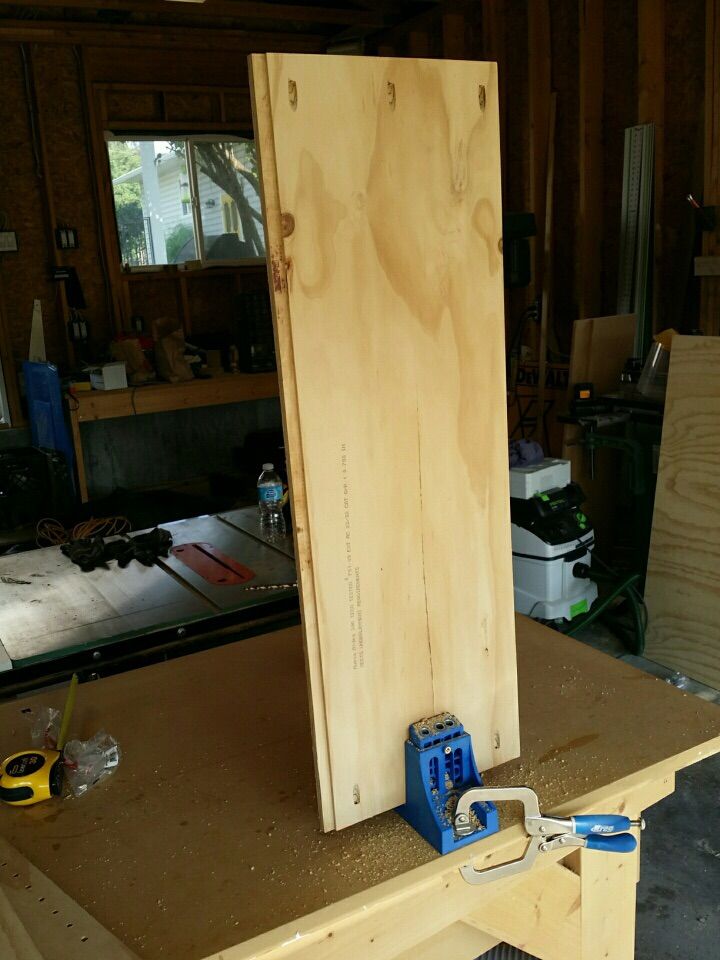
So I started doing some pocket holes and for the first time I realized that this piece goes up and down too . I found a gold thumb screw that goes in the jig that I wasn't aware of before . Dam I'm terrible with instructions . I think you slide it into the position that is the same thickness as the material ?
I set the bit for what I think is for 1/2" material as the back is 1/2"
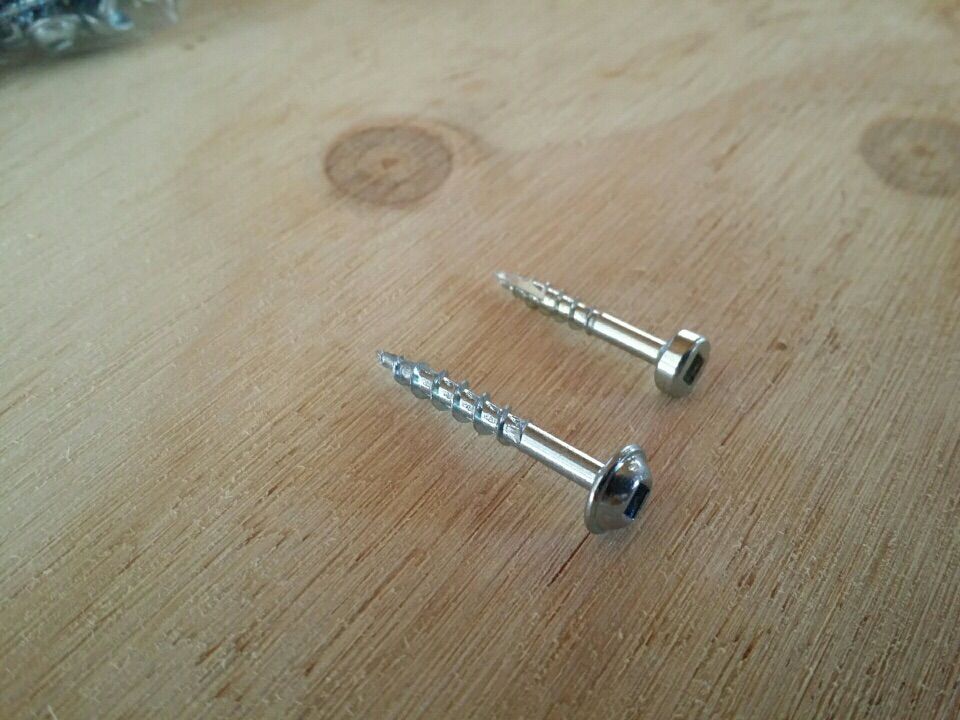
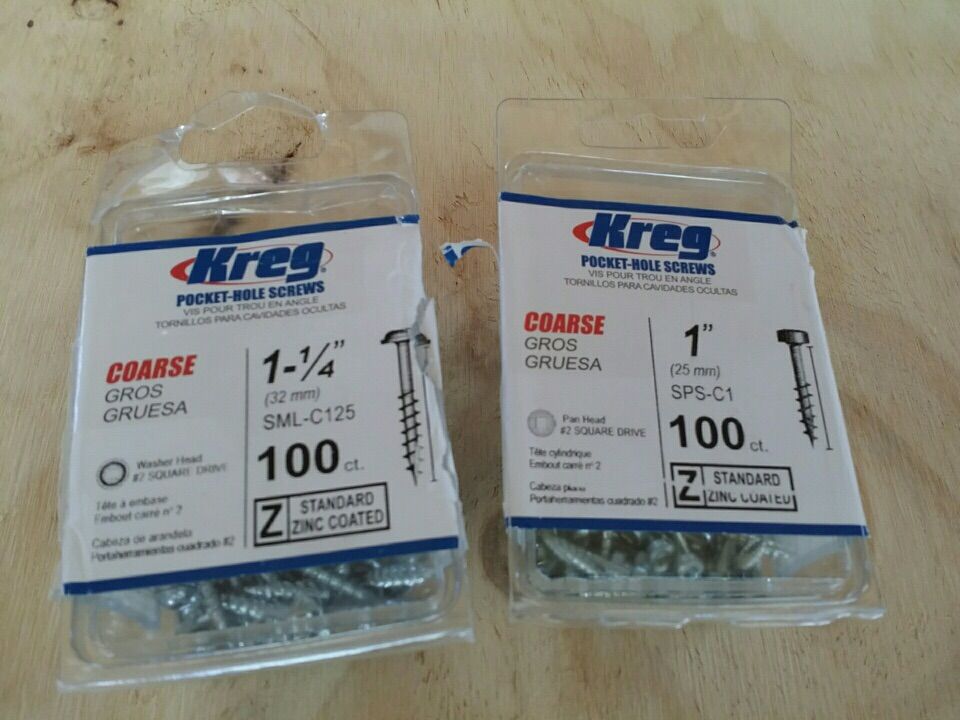
Little did I realize that there's different styles of pocket screws . When I was using the pan heads they were not going in flush and sticking out a bit . No big deal but I didn't understand what was going wrong
I find the jig awkward with tall pieces . It would be nice if a guy had material on both sides of the jig for support
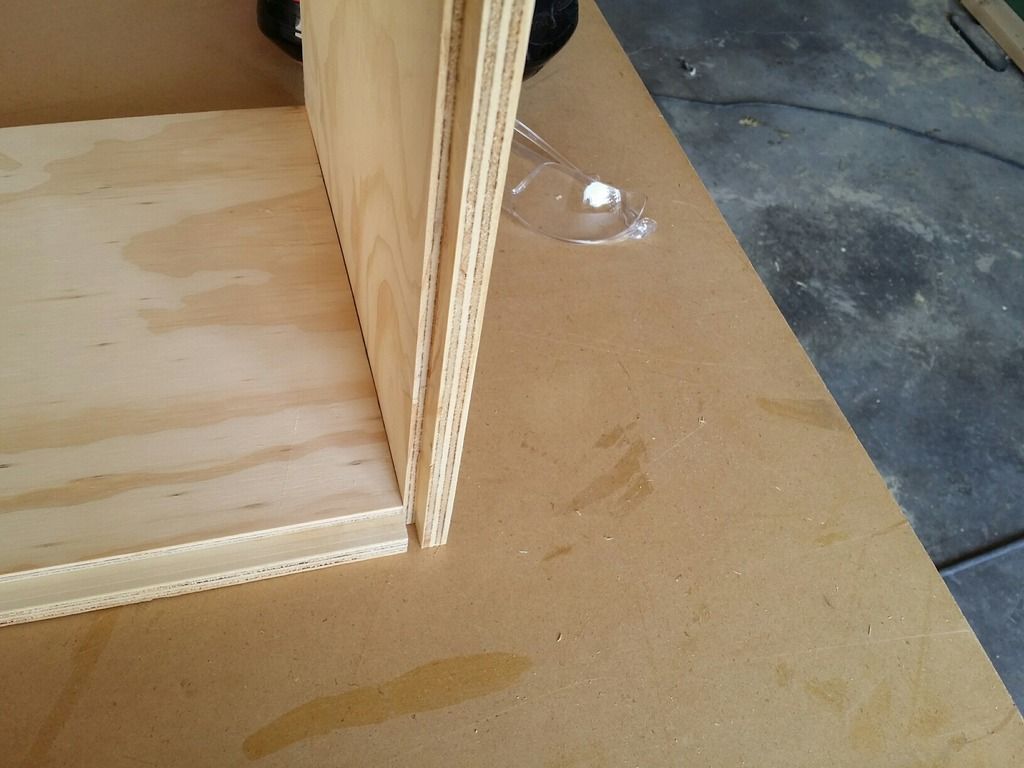
Because of the dadoing there's a small gap . It isn't really noticeable though
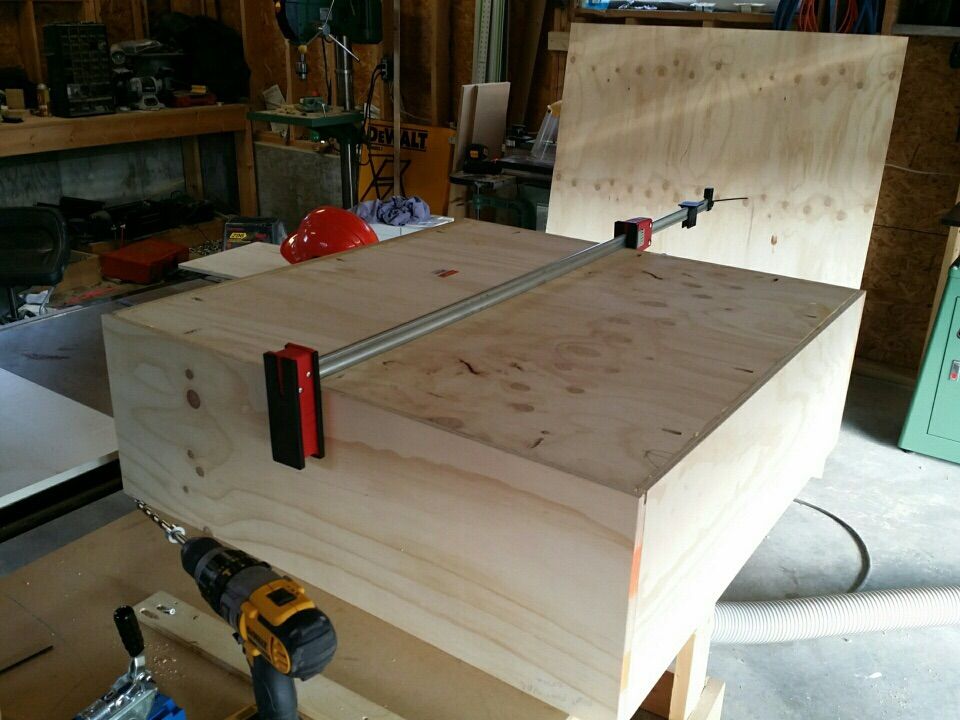
Putting the back on . I don't like the tight bond 2 as it sets up to quickly . When I run out I'll use my tight bond 3
These other pocket screws recessed in better . You sure have to be careful when installing them as I cracked the wood once . I'm tempted to start with a drill but finish with a screw driver on the next shelf
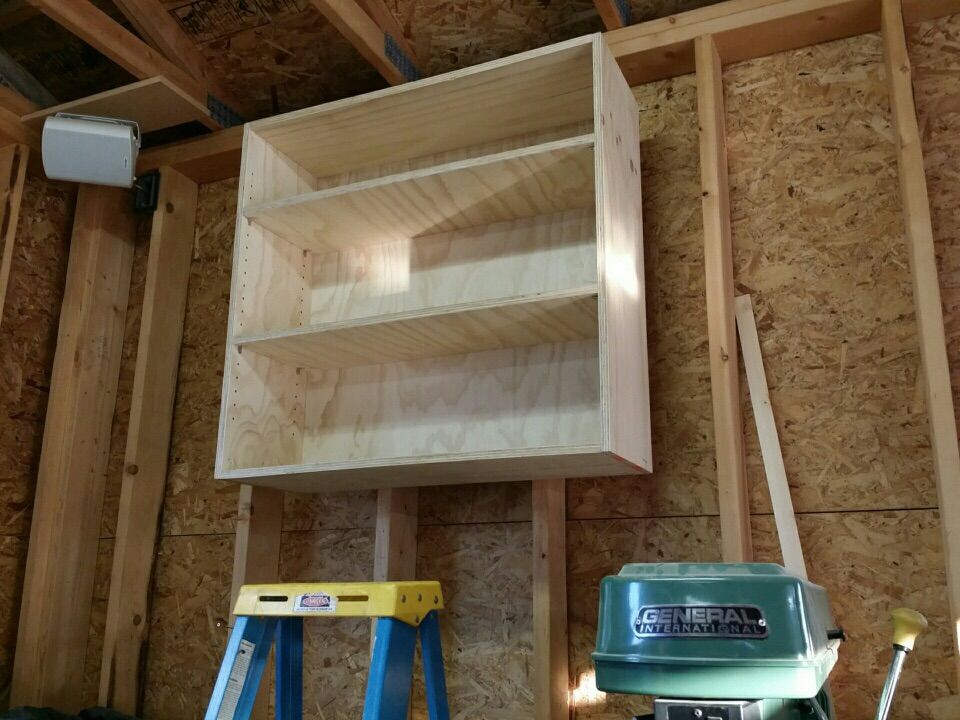
Here it is on the wall . Much better than the one I bought at HD .
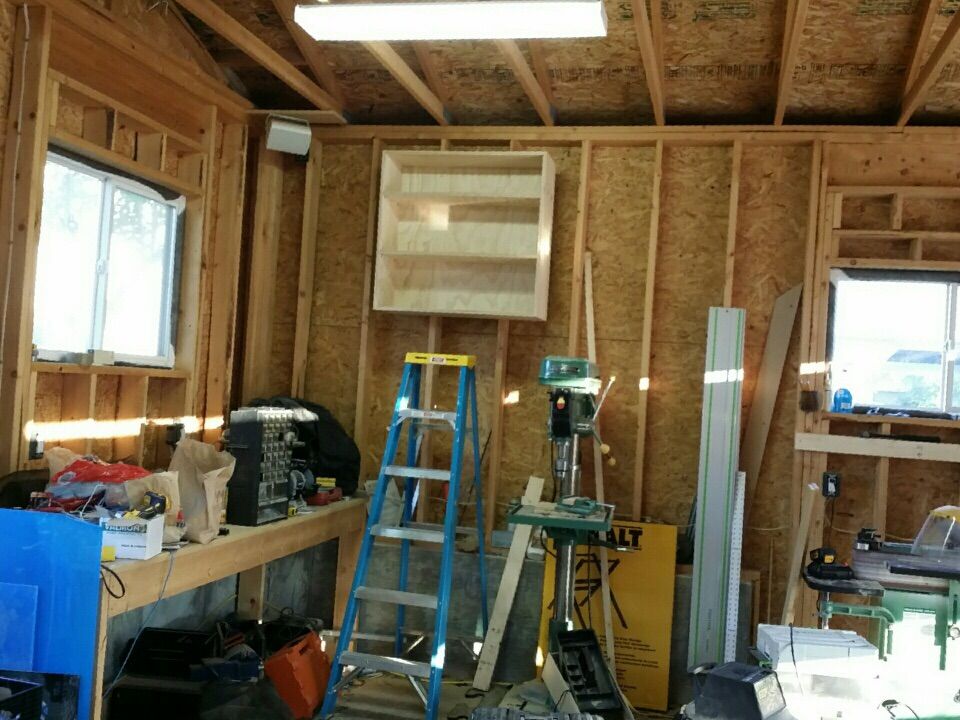
I will build the other one tommorow and install it on the right side of this one . Should help with my storage issues . Shame that I have to take them down to drywall in the future
I am trying to build some storage shelves that are mounted high up on the walls . I built these but to get things off the floor and work bench .
I was trying to do the math and it dawned on me that if I cut a bunch of 12" strips from a 4/8 sheet of plywood that I would end up with a bunch of waste as the saw blade takes up some material l so I made it 11.75" deep
Here I cut the lengths out after I did the cross cut . I have enough here for two

Not a great pic but here I'm dadoing a 1/2" in order for the back to be counter sunk in . Of course the plywood is warped so I had to run every piece threw three times . Kinda gave me the creeps pushing the wood down into the blade with my hand in order to make sure it all the material was being removed . A push stick didn't work , wish I had that pick block I was going to order .
I was going to rabbit the other joints to but forgot and it was to late as I should have done it after cross cutting .

So I bought two Kreg shelf pin jigs . I was going to go with standards but didn't like the quality of the ones in town .
I was a little choked as I drilled the first hole and then forgot to insert the pin on the third board , so it moved and was out close to an 1/8" so I used that board for the bottom where it's hidden.
I used that piece of 2/4 as a spacer as I didn't need holes at the beginning

I found out I was drilling on to low a speed and going in to fast so some holes had splinters . I have it down pat now

These were the first attempt on the pic below . You can see there not as clean

So I started doing some pocket holes and for the first time I realized that this piece goes up and down too . I found a gold thumb screw that goes in the jig that I wasn't aware of before . Dam I'm terrible with instructions . I think you slide it into the position that is the same thickness as the material ?

I set the bit for what I think is for 1/2" material as the back is 1/2"

Little did I realize that there's different styles of pocket screws . When I was using the pan heads they were not going in flush and sticking out a bit . No big deal but I didn't understand what was going wrong


I find the jig awkward with tall pieces . It would be nice if a guy had material on both sides of the jig for support

Because of the dadoing there's a small gap . It isn't really noticeable though

Putting the back on . I don't like the tight bond 2 as it sets up to quickly . When I run out I'll use my tight bond 3

These other pocket screws recessed in better . You sure have to be careful when installing them as I cracked the wood once . I'm tempted to start with a drill but finish with a screw driver on the next shelf

Here it is on the wall . Much better than the one I bought at HD .

I will build the other one tommorow and install it on the right side of this one . Should help with my storage issues . Shame that I have to take them down to drywall in the future


