This is NOT CNC but almost as good and it's alot cheaper ")
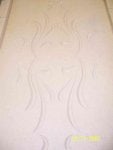
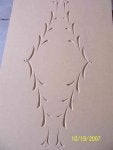
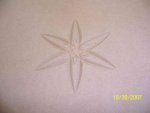
The one below is put in a bit deeper than most because it's going to get a white paint job... 3/4" MDF stuff
http://www.jacquescoulombe.com/cmt04.htm
http://www.mikestools.com/Rcs-Sts-Cmt-3d-Router-Carving-System.aspx
http://www.routerforums.com/39491-post12.html
http://www.routerforums.com/39515-post15.html
===========