Router Forums banner
1 - 19 of 19 Posts

mailee

· Registered
Joined
·
902 Posts
Discussion starter · #1 ·
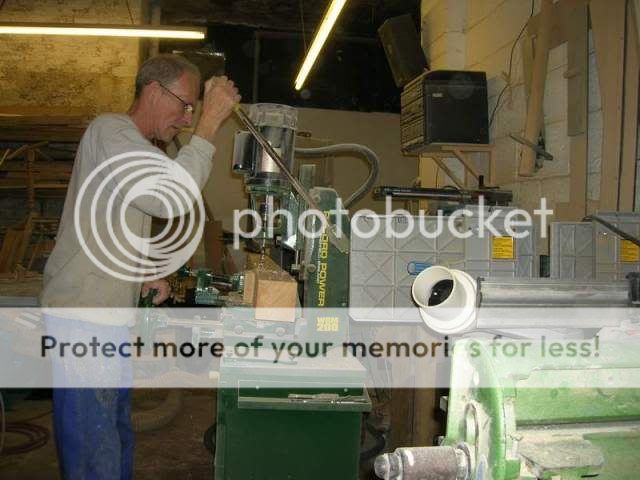
I made a start this morning on a set of bunk beds. Back to my old favourite softwood. :roll: I marked out the posts and got the mortices cut.
Image

Image

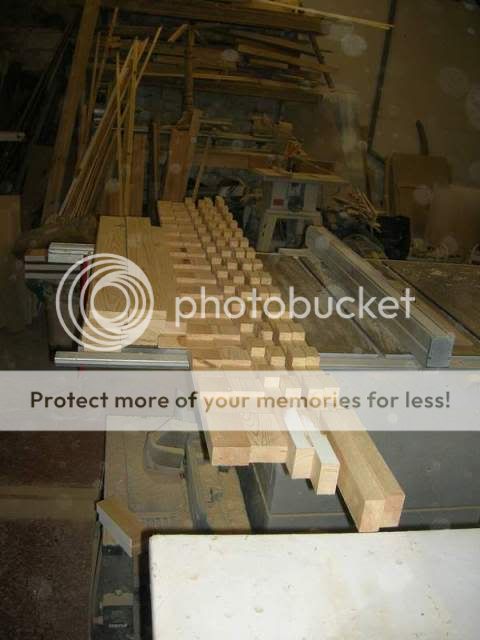
Then I cut the rails and also the bearers that will carry the bed slats.
Image

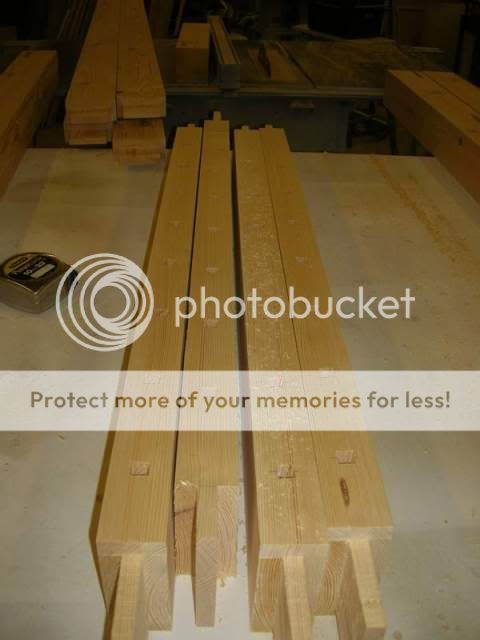
Next on to the rails for the head and foot boards.
Image

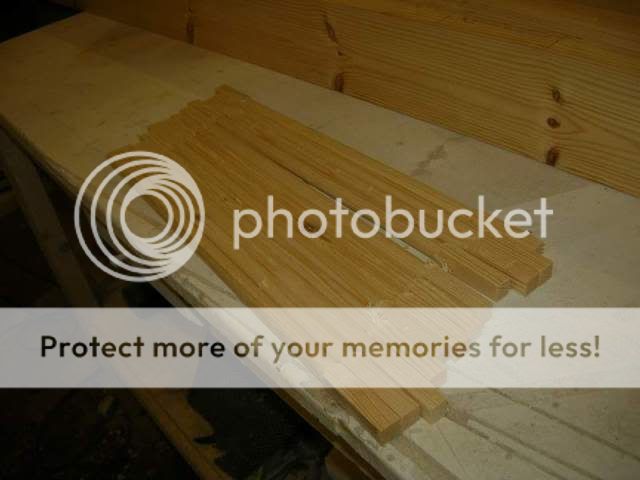
I am using thin spindles on these hence the square holes.
I then got all of the spindles cut.
Image

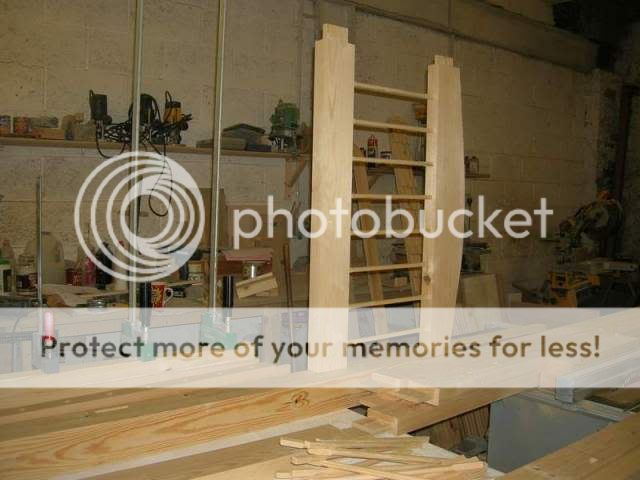
Finally by the end of the day I had a test fit of one of the headboards.
Image

I finished work at 7pm but even so not a bad days work considering I had to pick up the wood too!
 
Looks great, must be nice knowing what you'll be doing next, sometimes I fell like a goose, I wake up in a new world each day!!!
 
Discussion starter · #4 ·
Thanks guys, glad they are interesting to you. I started some assembly today. First off was a tricky one, drilling holes into the posts to assemble one bed on top of another. Excuse the Heath Robinson contraption on my pillar drill but it seemed the best way of doing it.
Image
It did work though and luckily I ended up with all of the holes in the right place and in line.
Image
I would have normally done this on the lathe but the sections were too long for my 36" bed! :roll:
After turning up some dowels on the lathe I had everything ready for some assembly.
Image

By the end of the day I had all of the head and foot boards assembled.
Image

I did finally attach the rails to the lower bed but it was getting late and I didn't get any pics of it, Will show them tomorrow. :D
 
Great work, Alan.

Who is this "Heath Robinson" ?????
 
Discussion starter · #8 ·
Thanks guys. Heath Robinson is a guy I often call on for the difficult jobs. :lol:
Had another good day on the bunk beds today. I got the pocket holes cut into the rails for the bolts.
Image

I then got the sides attached on the rails for the slats.
Image

Then after dry fitting the beds and adding the centre rails I made the steps and got them fitted in place.
Image

I got this lot finished for 6pm and then went off to fit the bathroom cabinets. :D phew, long day!
 
Well Alan, just when I think that you are just a great gate maker, you go and do something else. Excellent work on the sink cabinets. Now you are into bunk beds. Where do you stop??????????? Great work Alan, and for Harry's sake, keep the pictures coming.
 
Discussion starter · #10 ·
Thanks Doc, Glad they are interesting to you.
Today I got the first of the guard rails on the top bunk.
Image

I also got the drawer frame made and mounted under the bottom bunk along with the end panels.
Image

Image

I got the drawers assembled today and in the clamps ready for the morning. :D
 
Discussion starter · #11 ·
Well I am getting there. I got the pull out started today by making the frame up.
Image

I made the frame by using 1x4" and then cut in corner blocks to take the wheels. I then added a 1" bead around the bottom and then added slats. After adding runner blocks under the bed I had a trial fit
Image

Using some off cuts to align the pull out I then added some stop blocks at the rear of the bed. Finally I had the pulll out finished and ready for making the front panels.
Image

I also added the guard rail to the other side of the top bunk. Not a bad days work again. :D
 
Discussion starter · #12 ·
Well here's todays update. I got the drawer boxes assembled today and ready for sanding.
Image

I then got some timber laminated for the drawer fronts and started work on the pull out front that had been in the clamps overnight. By this afternoon I had the pull out front fitted and ready for a final sanding and a finish.
Image

Image

Now I will also come clean and tell you about my mistake! :whistle: When it came try the drawers in place with the pull out I found that I was 1" too low to fit them both below the bed! (don't ask, but I should have measured twice) :oops: I got around this by making some feet for the bottom legs of the bed. Problem was then it made the beds 2" higher at the top so I had to cut down the top of the bottom bed posts to compensate. :roll: Now the bed head and foot boards were already built I couldn't cut it on the chop saw as usual so it was the hand saw and router to cut off the 'extra' I am pleased to say that it worked fine and looks ok but did cost me some time.
 
Discussion starter · #14 ·
I finally got the finish on the beds but am still waiting for the drawer runners! :roll: I ordered them 5 days ago too! :( I sent them an e-mail last night and suddenly they have been dispatched this morning. :roll:
Image
 
Wow, Alan.

Did you do those from plans?
 
Discussion starter · #17 ·
Thanks, Well yes and no James. I designed them with Sketchup and then worked from my own plans as I do all of my work. I got the beds fitted today and remembered to take some pics of them this time.
Image

Image

Image

The customer has to buy the two mattresses for the bunks yet but did have the one for the pull out. Needles to say they were very impressed with it I am glad to say. :D
 
Hi Alan

Now I will say it ,very nice job :)

===

Thanks, Well yes and no James. I designed them with Sketchup and then worked from my own plans as I do all of my work. I got the beds fitted today and remembered to take some pics of them this time.


The customer has to buy the two mattresses for the bunks yet but did have the one for the pull out. Needles to say they were very impressed with it I am glad to say. :D
 
1 - 19 of 19 Posts