Router Forums banner

Router or Band Saw?

5.1K views 12 replies 9 participants last post by  harrysin  
#1 ·
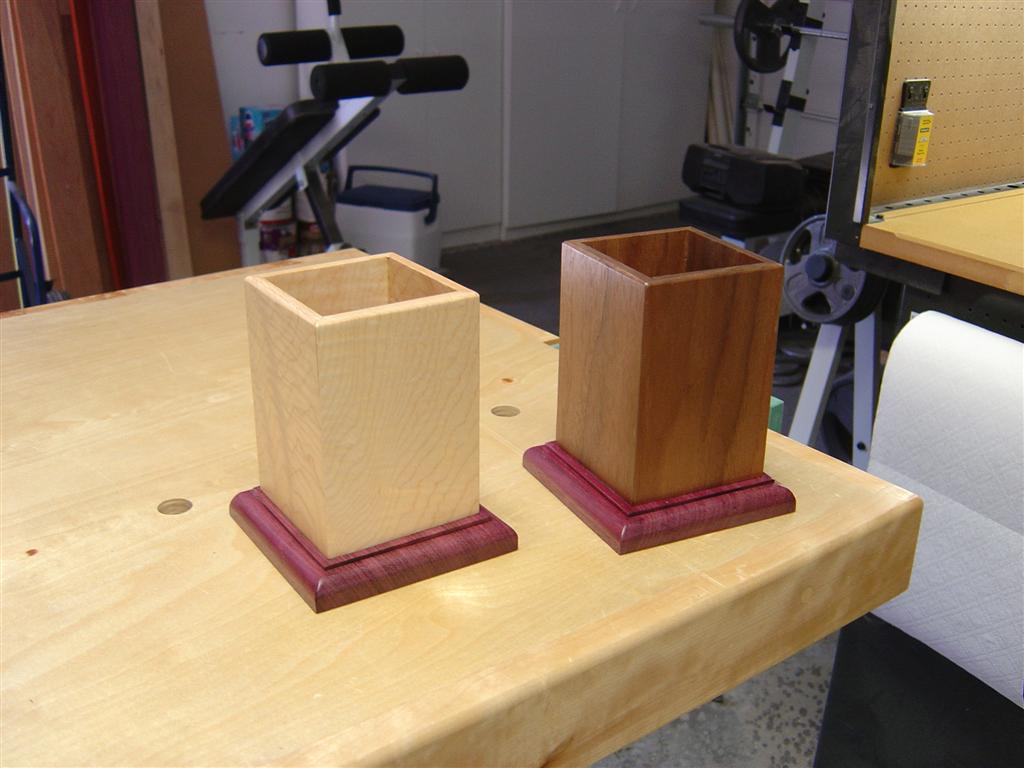
My wife, who is very patient and tolerant when I disappear into the shop, asked me to make a pencil holder for her out of some highly figured curly maple that I just got. I’ve decided to make the one that Marc Spagnuolo created in his video (Episode 31 - Pencil Holders | The Wood Whisperer).

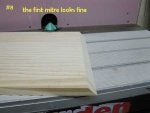
The box is formed from ¼” thick maple with mitered edges. Marc uses his TS with the blade set to 45 degrees to cut the miters. Unfortunately, I don’t have a table saw. Two alternatives are the router and the bandsaw. I have a brand new 45 degree chamfer bit that I can mount in my router table. My concern is that I’m routing end grain in a piece of wood on ¼ inch thick. Even with a backer is this tear out just waiting to happen? I could cut the sides longer, route, then cut to size for any tear out at the end of the boards but how about elsewhere along the edge? Maybe route 1/8 inch or less and use multiple passes?

The other alternative is the band saw. The table will tilt to 45 degrees. I checked it with a digital gauge. The only blade that I have is 3/8 inch, 6 TPI that came with the saw. I’m waiting for the riser to come in before I buy more blades. Since I can tilt the table I should be able to saw a 45 degree miter along the edges. I’m very new to band saws and have not done this before. I’ll have to learn sooner or later and I can practice on some scrap first since I’d hate to mess us a nice piece of wood. I already do that way too often.

So, to make a long story longer, in your opinion, which option would you recommend? Also, do you have any other suggestions?
 
#2 ·
Hi Barry, I do not feel that a band saw will be smooth enough for that job.

Check out some posts by Harrysin in his "how to" series. He used a 45° chamfer on box sides.
 
#3 ·
Barry
I think I would go with router and chamfer bit, I think it would be hard to get a very clean miter cut with band saw, but some times you have to use the tools you got.
 
#4 ·
Hi Barry,

with a proper tuned and setup bandsaw - and some experience - you can get excellent results on a bandsaw.
However, since you don't have that experience yet, but do have a miter bit for the router, I'd possibly use that.
Take the material away with increasingly smaller cuts, and perhaps a final climb-cut taking away a fraction of a millimeter (to avoid biting in, but still smooth the surface)

But since you have that 45° miter (actually it would be a 90° tip), you could try something else - if stock length allows.
You would need a piece of wood slightly longer than the circumfence of the box, and as wide as the box should be high.
Route the miters on the board (which is face down) from the top with that said bit, exactly perpendicular to hte long side of the board, depth of cut is "thickness of the board minus a little bit" - perhaps minus a millimeter"
The result will be a foldable box with continuous grain around the box, except for one miter.

I know there are videos about it, but honestly can't find them - maybe someone has it bookmarked and can post it?

Martin
 
#6 ·
Welcome to the forum, Skyrat.

Do you have a first name?
 
#7 ·
Thanks for all the suggestions.

Charlie - I agree that miters are for miter saws. Unfortunately, all I have is a 40 year old chop saw. A sliding miter is on my wish list along with a table saw.
Martin - I understand your suggestion. However, my chamfer bit has a top bearing so it doesn't come to a point to make the 90 degree cut.
Skyrat - Although I do have a small trim plane my skill with it leaves a lot to be desired. Along with the fact that the density of the figure varies in curly maple, and I'd be planing the end grain, I would expect to end up with more fire wood than i already have.
James, John - Yes, I've decided to give the router approach a shot. I will check out Harrysin's posts before I do.

Since my wife and I are about to spend the rest of the month visiting grandkids who live all around the US, I'll be able to resaw the board and cut it to rough length before we leave but I'll have to wait until September to get to the router. I'll let you know how it comes out. I hope the only four letter word I use to describe it is "good". Thanks again.
 
#8 ·
In the first shot I've removed the bearing, this is one of four mitres that I routed on a bookcase project. They were all made with a single pass and required no sanding whereas cut on a bandsaw, quite some sanding is required. The next shots show mitres routed for a trinket box, again all routed in a single pass. Both the above projects are shown in full in my many uploads.
 

Attachments

#10 ·
Harry - Thanks for the info. I did somewhat successfully make the mitered cuts on the router. 3 of the four corners are dead on. The 4th is off a little but you really can't tell unless you study it. I resawed a piece of 4/4 down to 1/4s on the bandsaw. First time I did that (new bandsaw). Since I don't have a planer (I so need one) I flattened the cut side on my 6" jointer. turns out, one if the pieces was a little thinner than the other 3. When i routed the edge I ended up taking a bit off the width. Ever try to get a perfect square out of 3 boards of equal width and the forth being a shorter one? Anyway, this project is all about learning technique. I just recieved a bottle of transtint dye today. I'm going to use it to try to pop the figure in the curly maple. I tried some danish oil on a scrap and wasn't happy with it. The dyed shellac exercise will also be a learning experience for me. If you learn from your mistakes, i ought to have a PhD by now. If i can ever get this turkey to gobble, i'll put up some pictures.

Charles - I agree with you on the joint. I'm new to box making and these are all projects for me to learn. I want to get into box making since i have a couple of granddaughter who would love to have a jewelry box. I'm going to start with bandsaw boxes and then move up to more traditional boxes where I'll use box and dovetail joints. Since i've never done either, i have little doubt that i'll generate both questions for the forum and a lot of firewood. I'll start with some inexpensive pine from the local big box store before i commit any of the hardwoods i have.

Thanks for your comments. I can use all the help I can get.
 
This post has been deleted
#12 ·
I made a similar type box out of scrap plywood, to store my rolled coins in before I take them to the bank, just used butt joints, and glued the box on the base, no glue block inside. Plenty strong, if I wanted to take it apart, I'd have to either saw it, or beat it apart with a fairly large hammer.
This is a pencil box, the miter joints will be plenty strong enough.
 
#9 ·
Looking at Marc's design, its not so much a miter on the end-grain as it is a 45* bevel running with the grain. Since it will be a long-grain to long-grain glue-up, there should be plenty of strength. I think setting your band saw to a 45* bevel with some touch up work with hand planes or sanding will work well. Using a large chamfer bit on a router table will work too, just make sure the piece is supported on the outfeed side of fence.

Image
 
#13 ·
Plain mitres can be strengthened/tarted up by adding splines which is very easy to do as shown.
 

Attachments